HOMEMADE ALMOND BUTTER
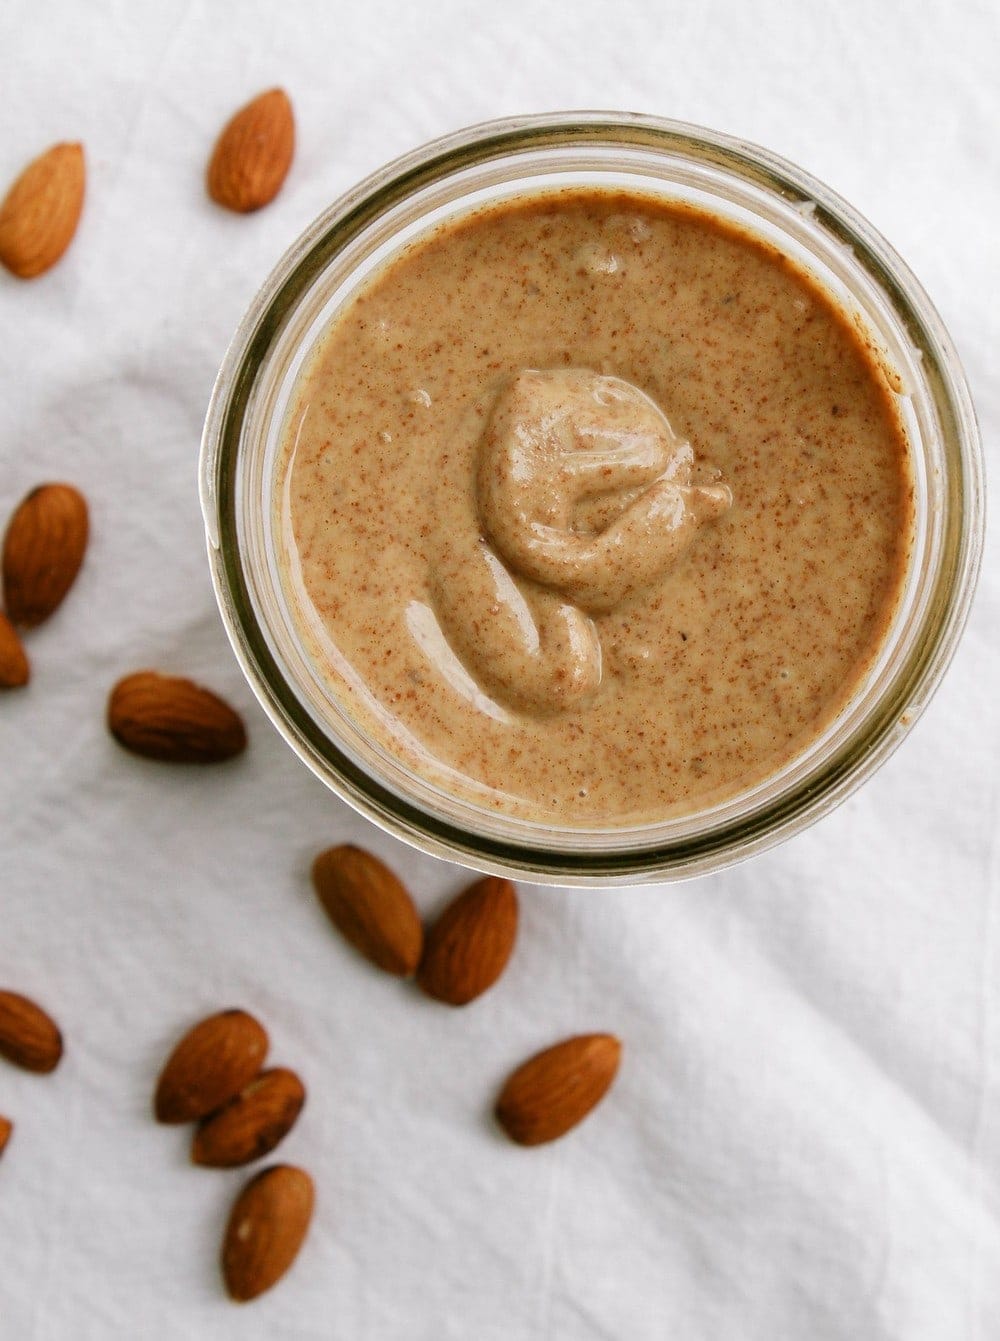
Learn how to make homemade almond butter made with just 1 ingredient – almonds! It whips up into a delicious creamy nut butter that’s inexpensive, healthy, and so easy to make!
Homemade almond butter is easy to make, healthy and tastes just as good, if not better, than store bought. Today, I’m excited to share with you this simple recipe so you can make it in your own kitchen.
I eat it almost every day, someway, somehow! I may have almond butter for breakfast on my morning toast with sliced apples or bananas, or as a dessert or snack smeared on pieces of my favorite dark chocolate or apple slices. It’s delicious in more ways than one!
This almond butter recipe requires one simple ingredient and a bit of patience. And in the end, your labor of love will pay off with the best almond butter ever!
We’ll use one pound of raw almonds, costing about $6 – 7 dollars. This is about the same price, for the same amount of almond butter I currently get from TJ’s. On the high end, I’ve also seen almond butter go for upwards of $16.00. Yikes!
Not only is cheaper to make yourself, but its nice knowing exactly what’s in your almond butter. Plus, you easily customize it with optional add-ins like cinnamon and pure maple syrup making a fun and flavorful nut butter.
How To Make Almond Butter
What you’ll need:
- 1 pound almonds (raw or toasted, pref. unsalted), about 2 1/2 cups
- Good food processor or high speed blender (I used this Cuisinart Elite Food Processor (affiliate link), using the small bowl)
Now you’re ready to proceed:
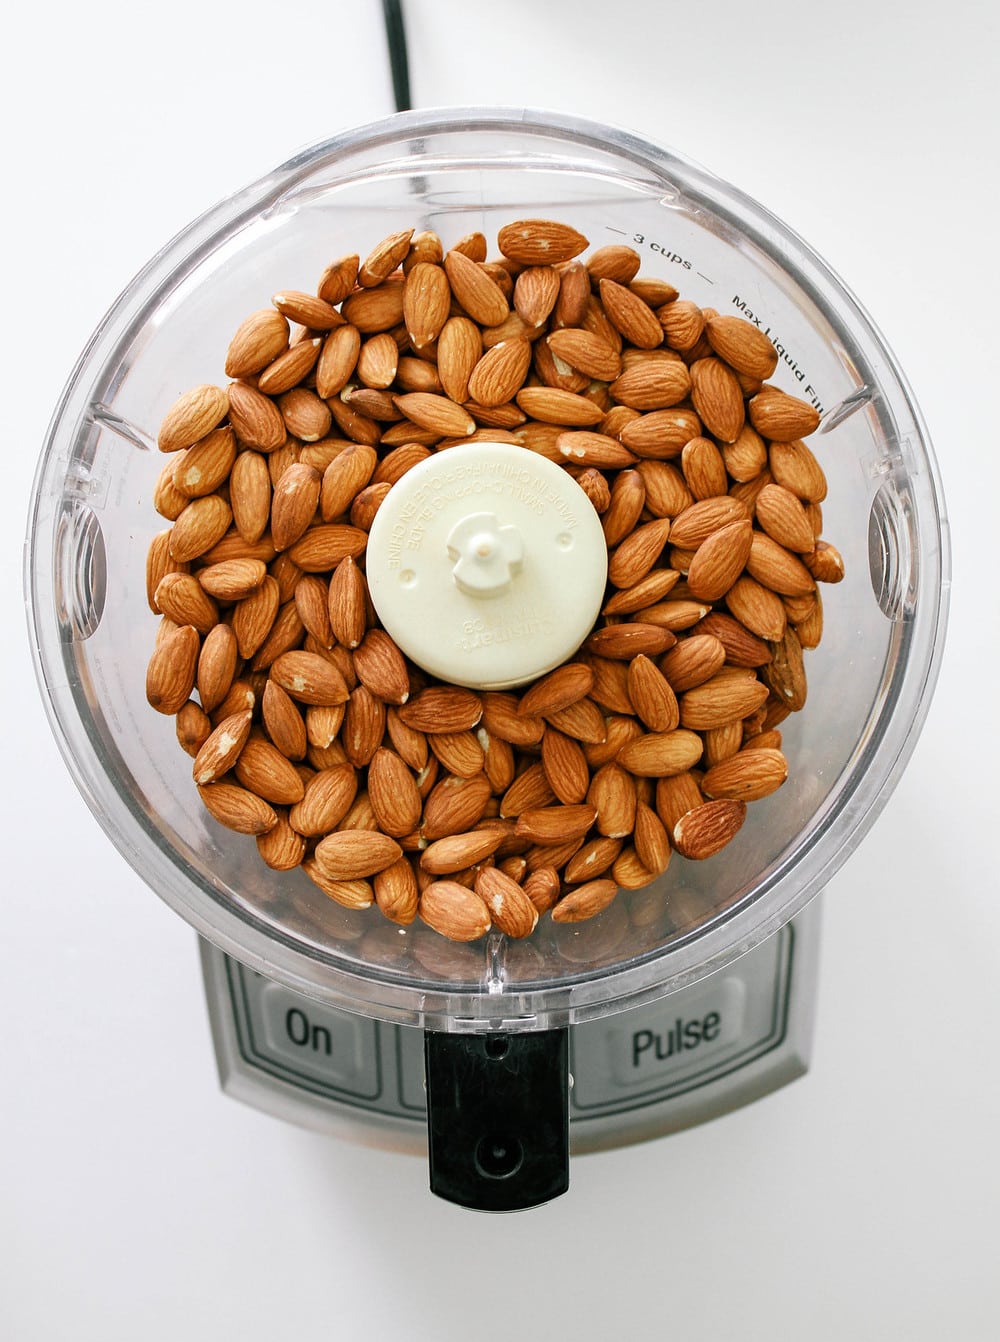
Start by adding the almonds to the bowl of your food processor or high speed blender (as shown above), and start blending.
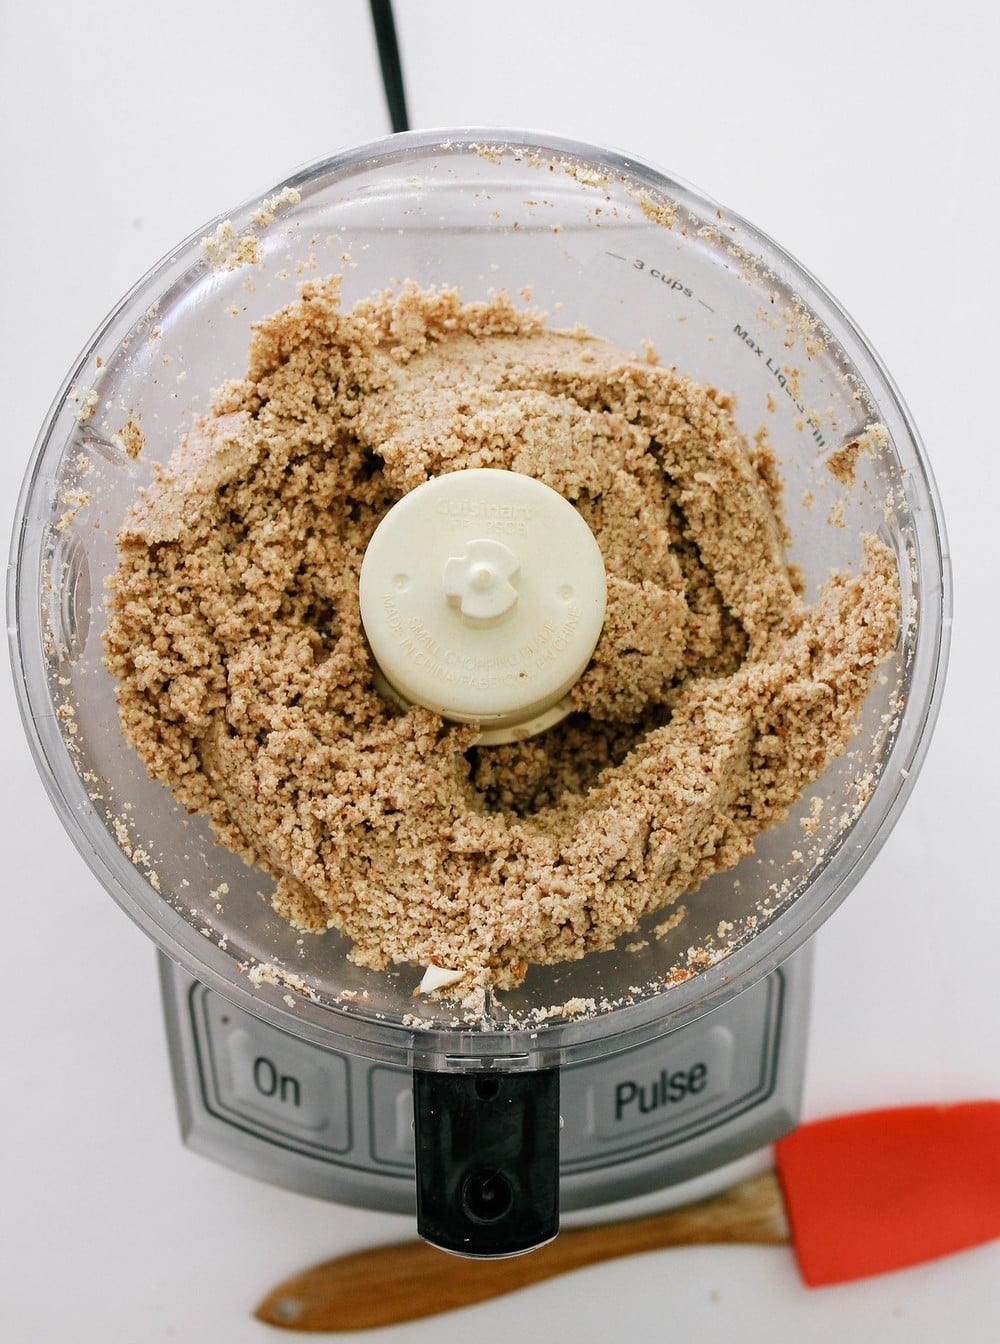
After about 5 – 7 minutes it will start to bind and clump, as shown above.
Here, pictured above, we’re at about 10-12 minutes of processing the almonds. It’s starting to clump up at this point.
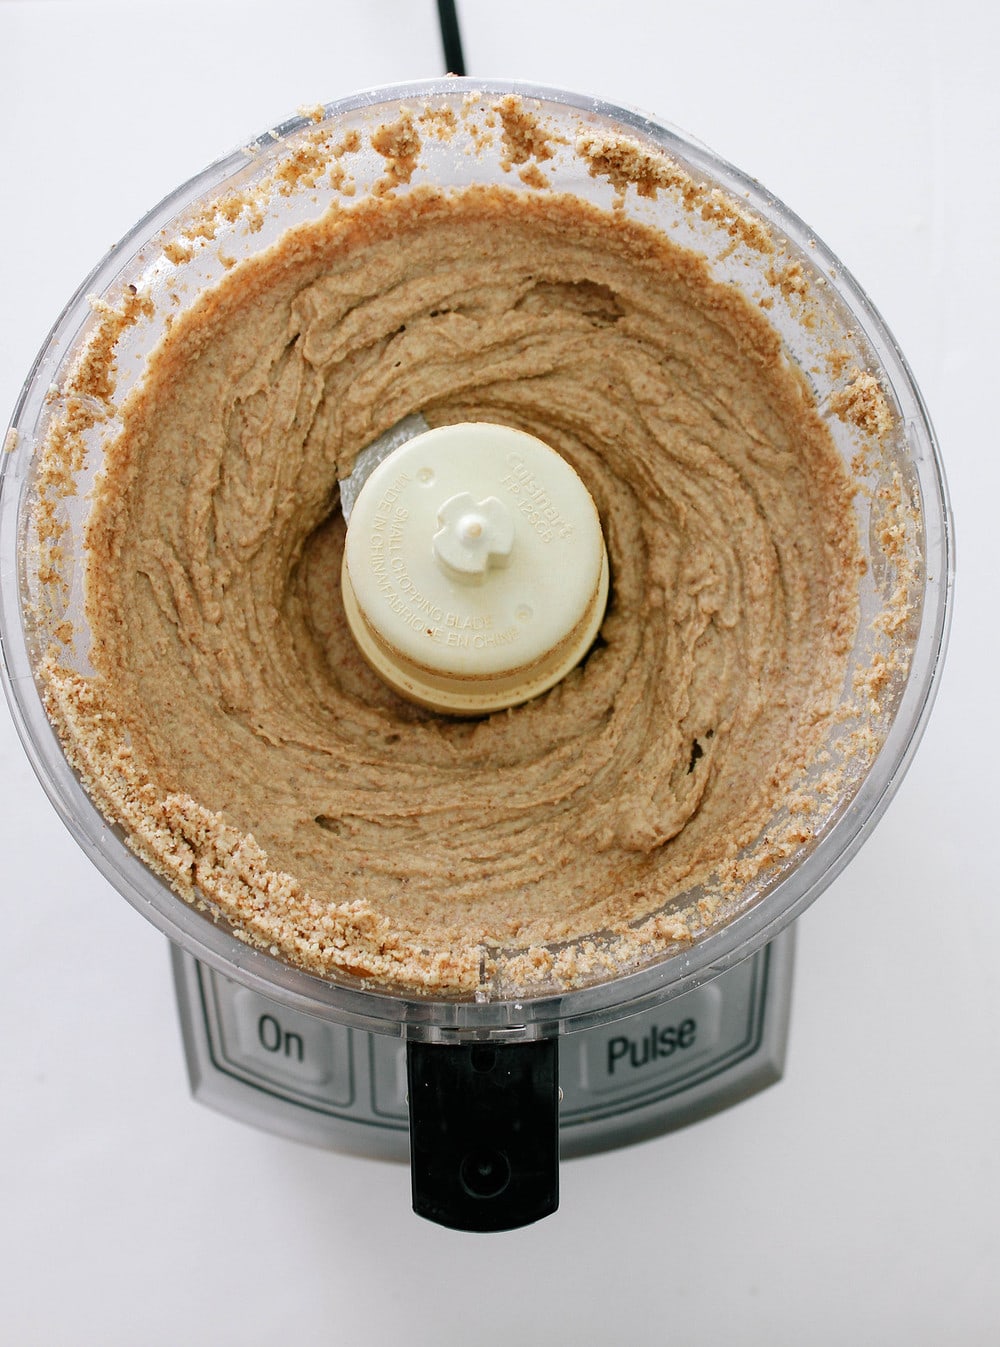
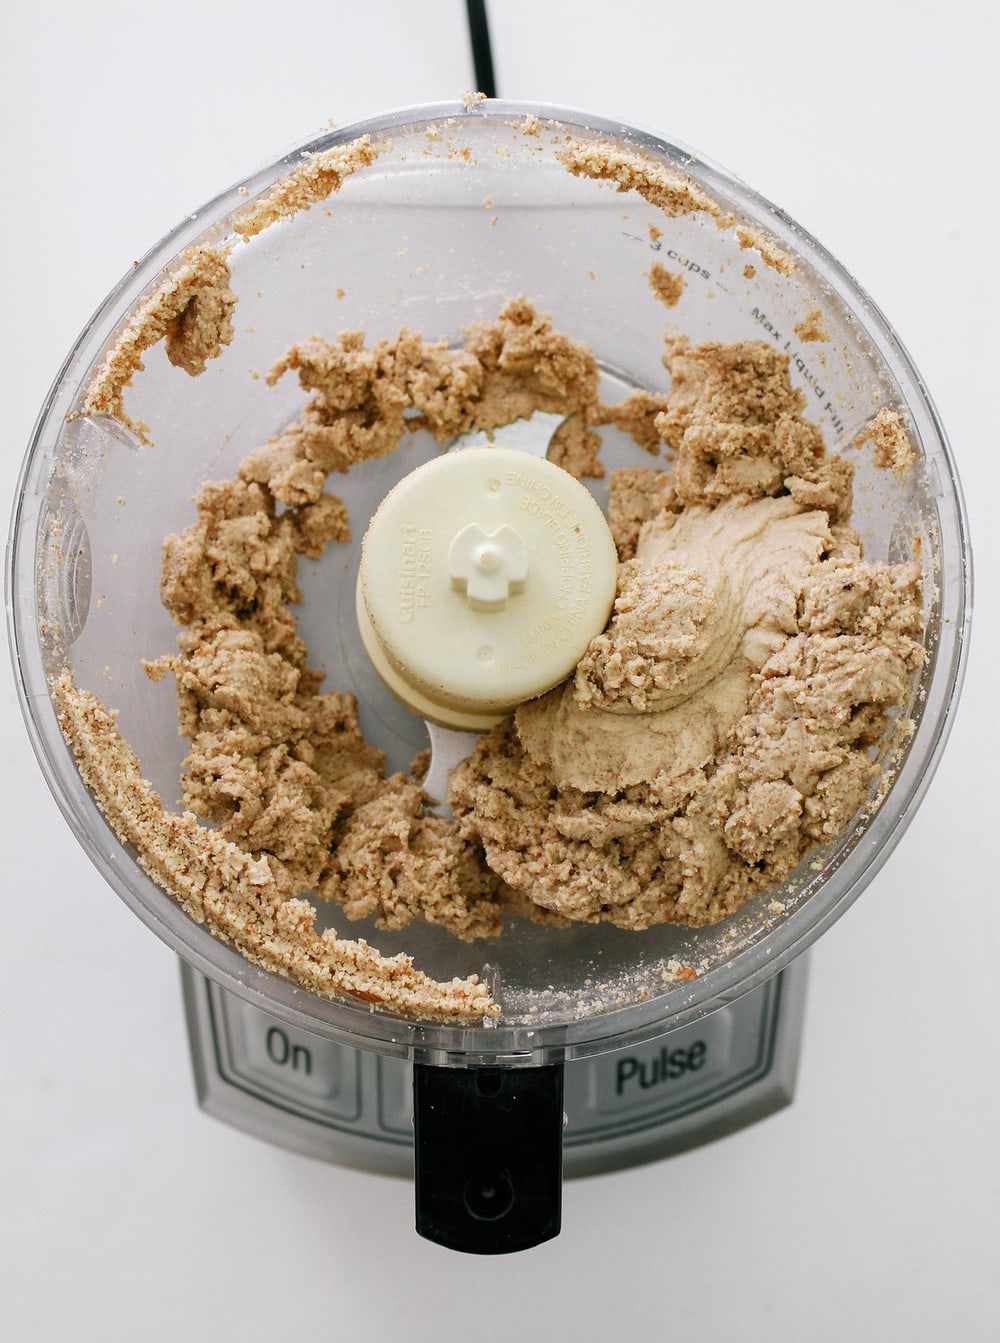
Now you see the almond butter after 15 minutes of processing. The almonds are starting to warm up, releasing their oils, creating a smoother consistency. It’s finally coming together now.
Below is after about 20 minutes. Your patience has payed off and you now have the best almond butter ever!
How To Make Flavored Almond Butter
You can easily add flavor to your almond butter by adding any of these various ingredients with the almonds before blending.
- 2 tablespoons maple syrup
- 1/2 – 1 teaspoon vanilla extract or powder
- 1/4 cup cacao powder
- 1/2 – 1 teaspoon cinnamon
- 1 teaspoon pumpkin spice
How To Store
- Counter: You can store homemade almond butter in the pantry for up to 1 month.
- Refrigerator: For longer storage keep in the refrigerator for up to 2 – 3 months, maybe more.
Serving Suggestions
Here are a few of my favorite ways to use this delicious, creamy condiment:
- Chocolate, Almond Butter Smoothie Bowl
- Supreme Black Bean Brownie Cups + Nut Butter Swirl
- Almond Butter Cookies (4 Ingredients)
- Almond-Lime Dressing
- or drizzled on Apple Nachos
- See all Almond Butter recipes on TSV!

If you try this almond butter recipe or have a question, please let me know! Leave a comment and rate it below. I love to hear what you think, or any changes you make.
PrintHOMEMADE ALMOND BUTTER
Easy to make at home, this raw almond butter is a staple in my kitchen. Spread it on sandwiches, use it in nut butter dressing and so much more!
- Prep Time: 20 min
- Total Time: 20 minutes
- Yield: Makes 2 cups 1x
- Category: Condiment
- Method: blender, food processor
- Cuisine: American
- Diet: Vegan
Ingredients
- 1 pound (16 oz) almonds (raw or toasted), about 2 1/2 cups
optional add-ins
- 1/2 teaspoon or so of cinnamon
- 1 teaspoon vanilla extract or seeds of 1 vanilla bean
- 2 tablespoons pure maple syrup, warmed
Instructions
Add almonds to high-speed blender or food processor blend until creamy, stopping frequently to scrape down the sides as needed. If adding in extra ingredients, please do so after you have achieved a creamy consistency.
The total time from beginning to end may take 15 to 25 min, depending on your machine.
Makes 2 cups
Notes
To make sure you get that super creamy texture, just when you think you’re done…keep the blender going for another 5 minutes or so. I’ve stopped to soon and had a somewhat pasty batch, it wasn’t bad but the creamier it is the easier it is to spread.
Be sure if adding maple syrup it’s a little warm before adding. If you add cold maple syrup your mixture will seize up a bit and take longer to finish.
Roasted almonds will be fine too!
Enjoy and have fun experimenting with add-ins!
FOLLOW TSV on Facebook, Instagram, Pinterest, or RSS for more updates and inspiration!
Hi I just found your recipe it looks delicious I want to try it but I am shy about I made to failed batches of almond butter.my last two batches creamed up beautifully but when I added in some honey and vanilla it seized up into a ugly mess that was never to return the velvety creamy consistency.could I add sugar in the raw instead thank you.
I would suggest adding sweeteners and added flavors before processing. The mixture warms up quite a bit while processing, the temperature difference (alhough slight) may have been what caused it to seize up. Hope that helps! Cheers
Thank you very very much i am ready to try again because i love almond but why pay $9 a jar when i can make my own.thank you.
Saw your recipe a few days ago and mulled over it periodically. The length of time really was too much for me. yesterday I decided to try it and got it to the 15 minute phase, it was grainy but looked like if I added about a teaspoon of olive oil it would be fine. It was and this morning I had some on raisin bread with sliced strawberries. Devine! Thank you so much for encouraging me to try it.
Hi Julie,
I will give this a try over the weekend; any idea if it can be frozen or how long it will hold up in the fridge?
Thank you!
Eva
A prerequisite for making almond butter is to have a super powerful food processor. I have been going at it forever and all I got was almond meal.
What type of blender or food processor do you use and/or recommend? I’ve had a few blenders in the past that just won’t properly do a good job of blending of any sort of
I was gifted and currently use the Cuisinart Elite food processor which does fairly well with grinding nuts and making nut butters. If you plan on making nut butter often you will need a very good quality food processor/high speed blender. I would suggest an Blendtec, they are cheaper than the Vitamix blenders and have great reviews. I’ve read that the blades never dull making them a great option if you intend on making nut butters regularly. The Vitamix blenders is amazing and does come with a 7 year warranty. They both have pros and cons. For my next purchase it will be one of the two…I just haven’t decided which one yet. Do look into both and choose the one that suits you best. Hope that helps. Cheers :)
I added water and that made it a lot quicker. I found there was a lot of clean up though.It did not come out of the blender easily.
Do you need to keep it in the fridge? how long does it last? Do you think it will work with Nutribullet ?
No need to keep it in the fridge, but I do, it will last longer there. I imagine it will be fine for a month or so. I usually go through a batch in a week so I can't say for sure. You need a strong blender/processor for this, the nutribullet will not be sufficient. Best of luck and I hope you enjoy your homemade almond butter! :)
Hello. Thank you very much for this post. I did not realize it was that simple! It turned out to be exactly as the almond butter I purchased from the bio-groceries. Living in France makes the home-made version twice as inexpensive. So you made someone very happy :)) I was wondering – indeed the almonds heat up (no idea to what degree) – but I imagine that this is still cold-pressed? Or is there a significant nutriment-loss in the homemade version? And did you try the same procedure with peanuts? Would it work with all kinds of nuts? Sesame seeds?
I you have any idea, I would love to read your experience. Thank you.
Sorry for the delayed response. There is some heat but I'm not sure if there is any nutrient loss, I think it's still very healthy anyhow even if you lose a minimal amount. It will work with all kinds of nuts. I have a tahini recipe with sesame seeds using the same exact method. So glad the recipe worked so well for you and you're saving some money too. Cheers :)
This is interesting…I've always made my raw nut butters by grinding the nuts, then mixing in small amounts of distilled water, by hand, until I get the texture I want. This way, the temperature's kept down, which minimises loss of nutrients that heat can cause…:)
That sounds like a great idea! Will definitley have to try adding a small amount of water next time to see. Thank you for the inspiration! :)
I finally got around to trying this myself today, and I just wanted to share my experience. First off, thank you to Julie for the inspiration. My food processor is quite average and was able to do the job, all I needed to do was use the low setting the entire time and keep scraping it off the bottom / sides with a butter knife when it clumped up. If you see the blades just spinning and not churning anything, it's time to scrape. The key is to generate heat so don't start with cold almonds (the final product was hot).
The good news: it tastes delicious, with more of a raw almond flavor than the "raw" MaraNatha brand I normally buy.
The bad news: it didn't save me any money. It cost me $5 Canadian for 2 cups of raw almonds (they are expensive here), which filled up 3/4 of a MaraNatha jar with butter, which sells for $8. So to fill the jar would take almost $8 worth of raw almonds, plus the power to run the processor :/ But I will keep an eye out for cheaper almonds.
It's true that in some cases it may be just as cheap to purchase instead of making it at home. That's ok, keep and eye out for cheaper almonds and in the meantime enjoy purchasing your nut butters. Cheers :)